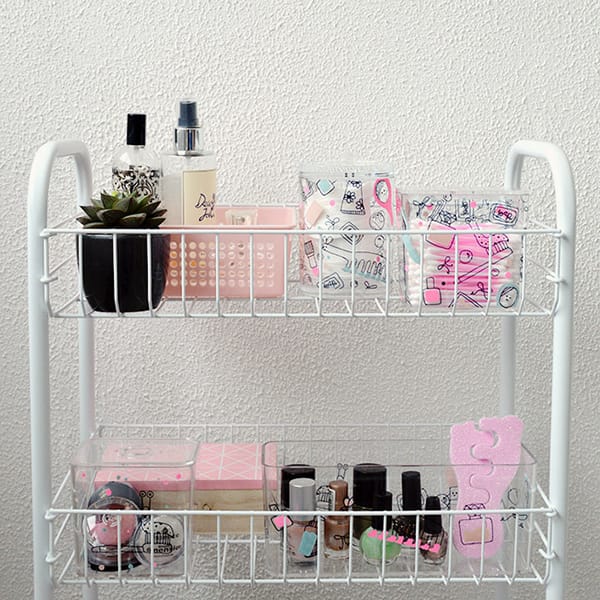
Zoals jullie inmiddels allemaal wel weten ben ik zeer recent verhuisd. Vorige keer deelde ik al mijn home-office wishlist en ook deze gastblog staat in het teken van huis en interieur. Waar het hart vol van is, stroomt de blog van over. Ofzoiets.
As some of you may know by know I moved into our new house only a few weeks ago. And since there’s been loads to do in the new house, I thought it would be nice to share a little ‘home DIY’ with you guys today.
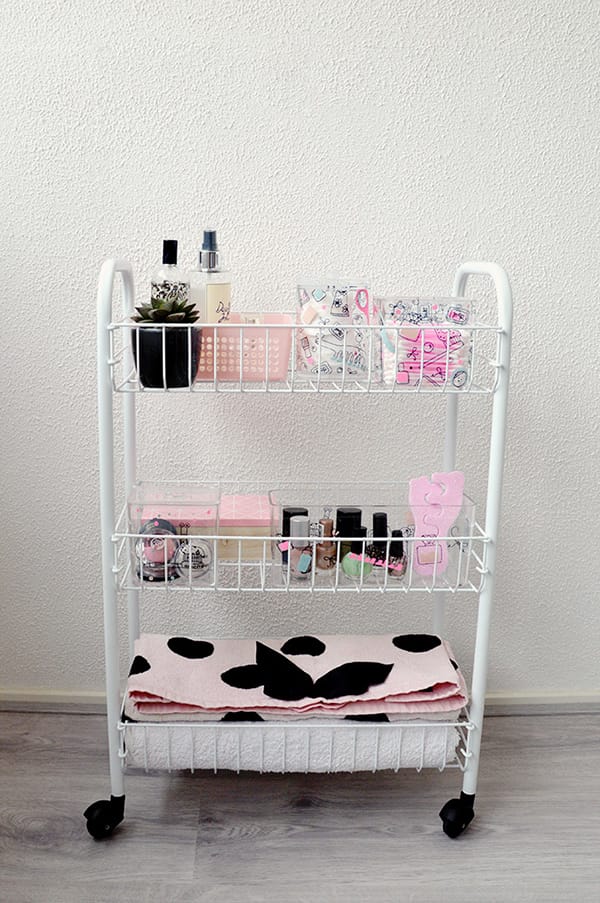
Natuurlijk vind ik ons nieuwe huis super leuk, maar als ik één minpuntje mag noemen, dan is dat wel de badkamer. Die is namelijk 2 vierkante meter groot. Echt waar. Ik overdrijf niet. Onze badkamer is 1 meter breed en 2 meter lang. Veel meer dan een douchebak en een wastafel past er dus niet in. Voor stijlvolle badkamermeubels en ditto kastjes is dus geen ruimte. En dat betekent dat John en ik met een slimme oplossing moesten komen voor onze toiletspullen. Dat is gelukt: we kochten een leuke trolley, zetten daar de spullen die we het meeste gebruiken op en die trolley stalden we in de slaapkamer. Wanneer we dan naar bed gaan, rijden we met onze trolley over de overloop van de slaapkamer naar de badkamer alsof we ‘glampen’ in ons eigen huis.
Maar je raadt het al: met zo’n trolley staan al onze toiletspullen wel altijd in het zicht in de slaapkamer. Niet de mooiste feature interior-wise. Daarom besloot ik de trolley eens goed te upgraden en er een toiletspullenwalhalla van te maken. En dat lukte zo goed dat ik dat vandaag in DIY vorm met jullie wil delen.
Of course there are a lot of things about the new house that I love, but if I had to name one flaw, it would be the bathroom. Why? Because it’s tiny. No, really. It’s super tiny. It’s about two meters long and one meter deep. This tiny-ness comes with the fact that we have no room for storing our toiletries in the bathroom. That’s why John and I had to come up with something smart and we decided to purchase a little trolley that we’d store in the bedroom and ride alongside us on our way to the bathroom when getting ready for the day or for bed. Total glamp-style! But since this trolley would be out in the open in the bedroom all the time, I thought our toiletries would better look good. So I decided to add some illustrations to our perspex toiletry containers. This worked out so well that I’ll be sharing this DIY here with you today.
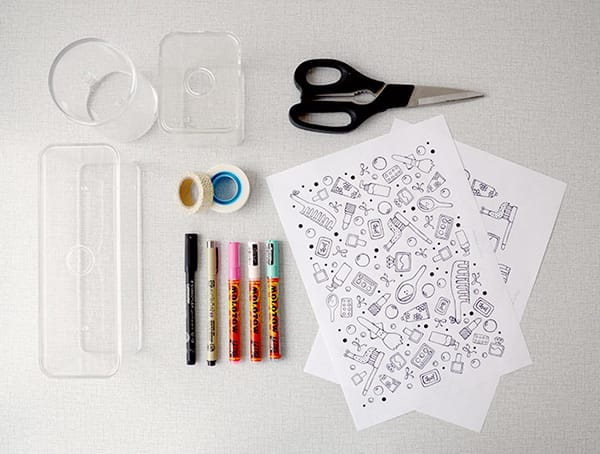
Je hebt nodig:
♥ plexiglas badkameraccessoires (ik kocht de mijne bij Xenos en Ikea)
♥ de printable die ik speciaal voor dit artikel maakte
♥ printer
♥ (tijdelijke) plakband of masking tape
♥ zwarte (waterbestendige) fineliner
♥ schaar
♥ optioneel: acrylstiften
You’ll need:
♥ perspex bathroom containers (I purchased mine at Ikea and Xenos (a Dutch chain store))
♥ my printable
♥ printer
♥ temporary tape or masking tape
♥ black (waterproof) fineliners
♥ scissors
♥ optional: acrylic markers
Zo doe je het:
DOWNLOAD DE PRINTABLE HIER en print de laatste twee pagina’s uit.
This is how you do it:
DOWNLOAD THE PRINTABLE HERE and print out the last two pages of the PDF.

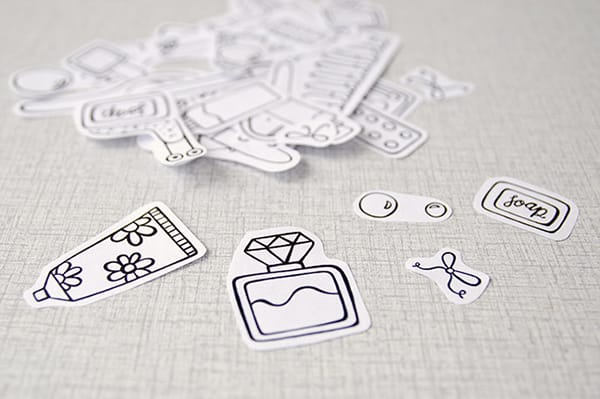
Zoals je op bovenstaande foto kunt zien bestaat de printable uit twee pagina’s: één ‘patroonpagina’ die je op maat kunt knippen van de accessoire die je ermee wilt betekenen en eentje met de illustraties los. Uit die laatste pagina kun je alle illustraties afzonderlijk uitknippen en op je accessoire positioneren zoals jij dat wilt. Ik maak in deze DIY met beide printablevellen een accessoire.
As you can see in the photo above, the printable consists of two pages; one with a pattern on it and one with separate illustrations. You can either use the pattern for tracing onto your perspex container, or you can make a composition yourself by cutting out the illustrations on the second page. I decorated two accessories for this DIY; one with each of the options.
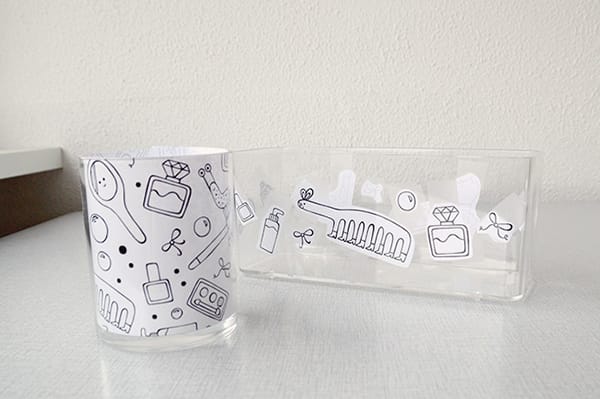
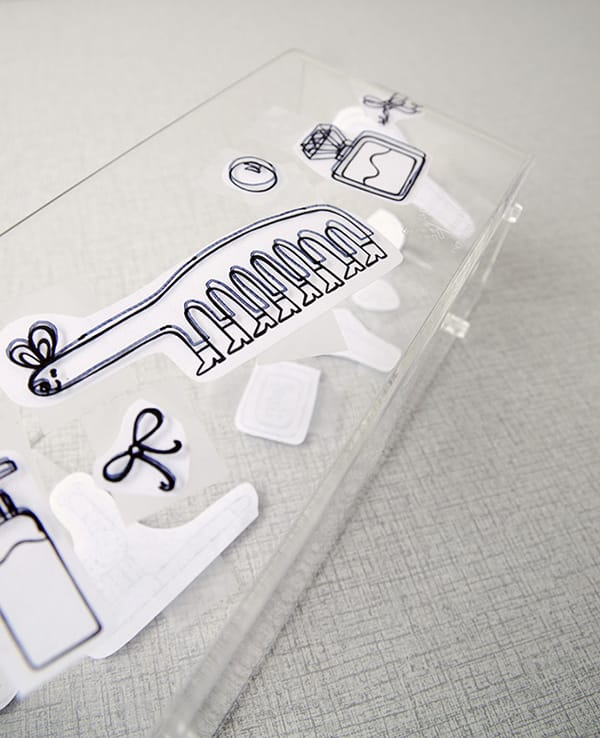
Plak je uitgeknipte printable(s) aan de binnenkant van je badkameraccessoires. Doe dit bij voorkeur met tijdelijke tape (dit bestaat echt: dit is verwijderbare tape van het merk scotch) of maskingtape. Gebruik het liefst een tape die niet te hard plakt omdat die ook makkelijk weer te verwijderen is, maar gewone plakband mag ook!
Stick your cut-outs to the inside of your perspex container. You can do this using temporary tape or masking tape (‘ordinary’ tape works fine too, there’s just a bigger chance of glue-residue on your perspex when removing it).
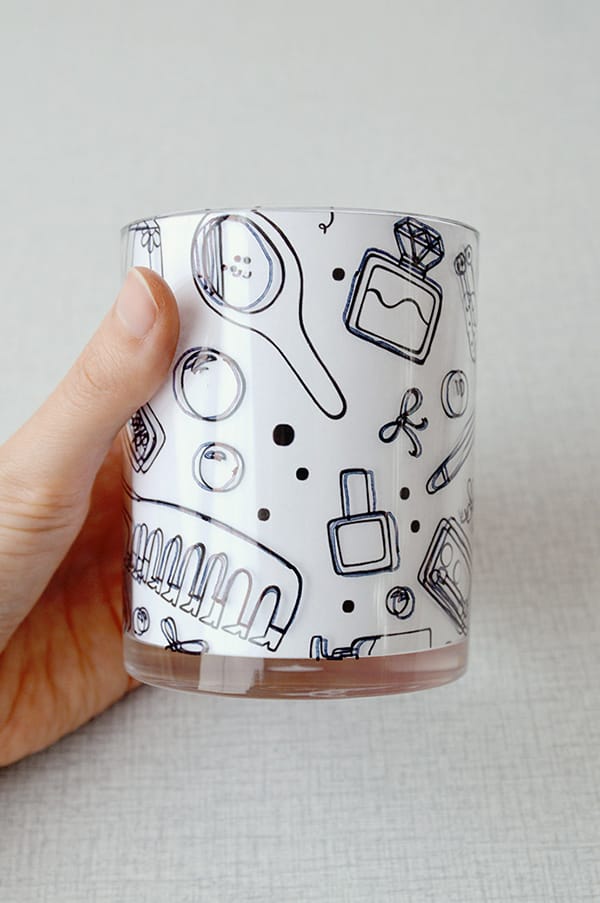
Nu komt het leukste deel, want we gaan de illustraties overtrekken op de badkameraccessoires! Probeer even op een klein stukje uit of je fineliner goed houdt op het plexiglas. Dit verschilt per soort plexiglas en per merk fineliner. Zelf behaalde ik de beste resultaten met fineliners van Staedtler. Ik koos ervoor om bepaalde delen die ik later wilde inkleuren niet over te trekken, zodat dat straks gekleurde vlakken zonder lijn worden. Leuk voor de afwisseling. Wil je geen kleur in je ontwerp, dan kun je gewoon lekker alles overtrekken en je hier en daar misschien extra uitleven met een arcering of een zwart vlakje. Maak bijvoorbeeld de schoenen van de kam helemaal zwart, of de haren van de kwast. Dit zorgt voor meer afwisseling en contrast in je illustraties.
Get ready for the fun part, because now we’re going to trace the illustrations onto the outside of the perspex containers. First, try how your fineliner works on a small piece of your container, because every kind of fineliner behaves differently on every kind of perspex. In my experience, Staedtler fineliners worked best and dried fastest during the tracing process. I chose to not trace the parts that I wanted to be coloured later. If you don’t want any colour in your designs, you can choose to make certain areas of the illustration all black for a little more contrast. For example: the boots of the comb or the hair of the brush.
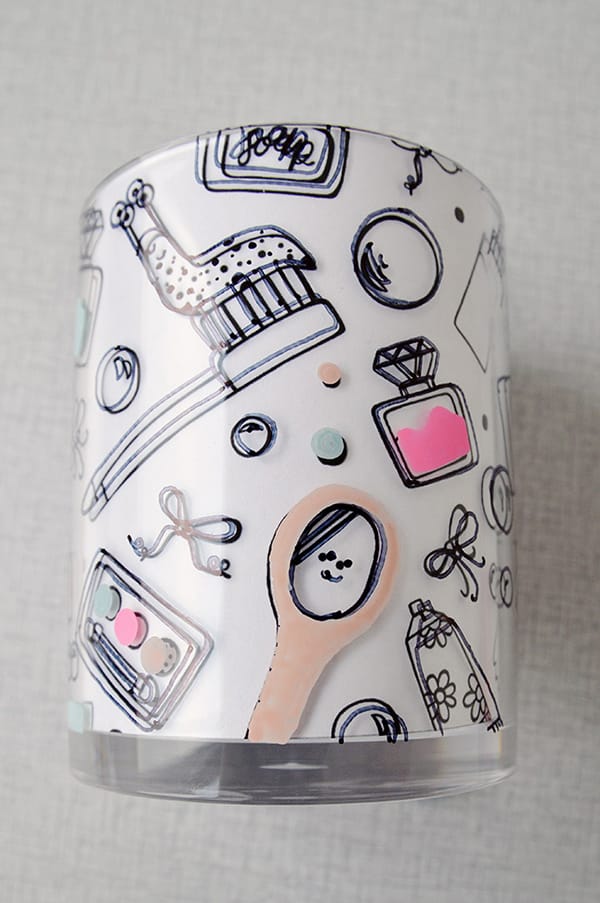
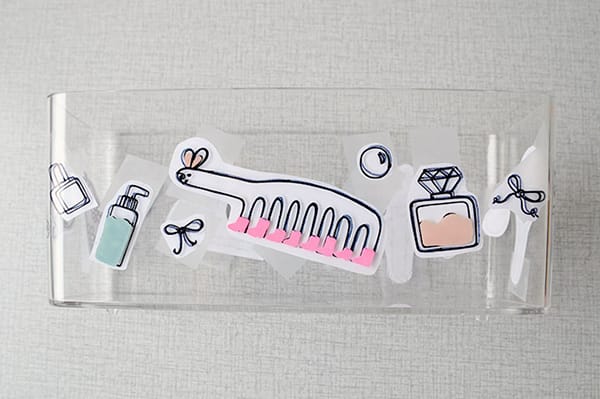
Heb je acrylstiften en wil je wat kleur toevoegen aan je illustraties dan kun je dat nu doen. Houd er wel rekening dat acrylstiften niet watervast zijn, dus het kan zijn dat je na een tijdje je illustraties hier en daar wat moet bijwerken als je de accessoires op een vochtige plaats bewaart.
If you have acrylic markers and want to add colour to your design, you an now do so. Please note that acrylic markers are not waterproof and that you may have to do a little touch-up on your illustrations every now and then when storing the containers in a damp place.
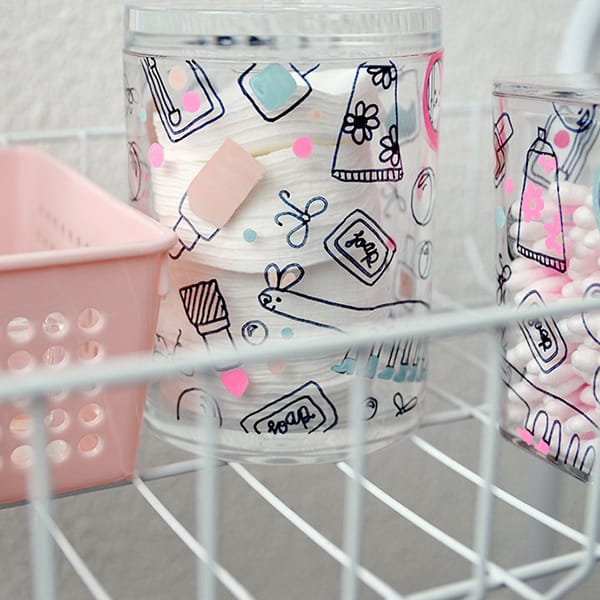
Ben je klaar met tekenen? Haal dan de printable aan de binnenkant van je badkameraccessoires weg et voilà! Klaar is je toiletspullenwalhalla! Heb je gewone plakband gebruikt en zijn er lijmresten achtergebleven op het plexiglas? Verwijder deze dan met nagellakremover of stickerverwijderaar.
Done drawing? Then you’re ready to remove the paper templates from the inside of your perspex containers. If there’s some glue residue, you can remove that with acetone or sticker remover.
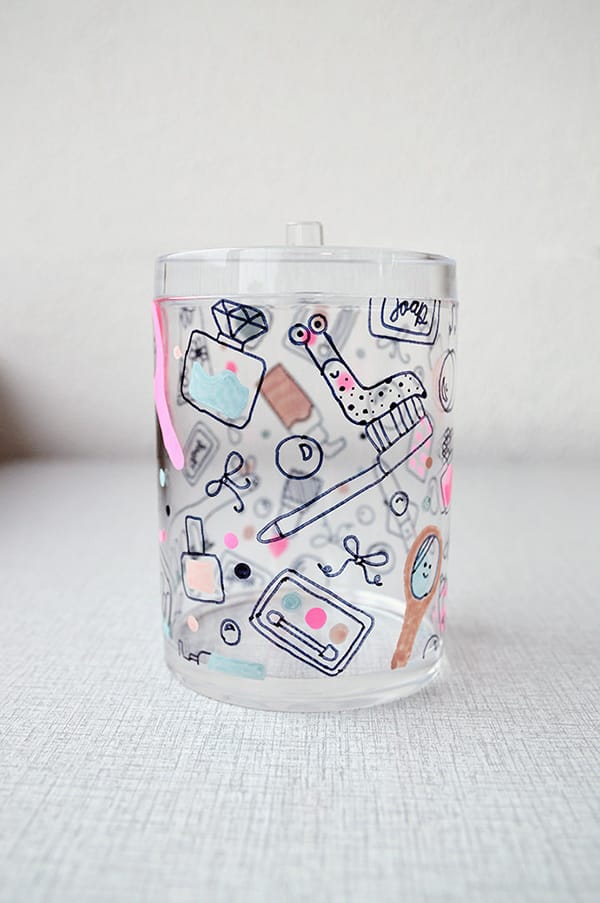
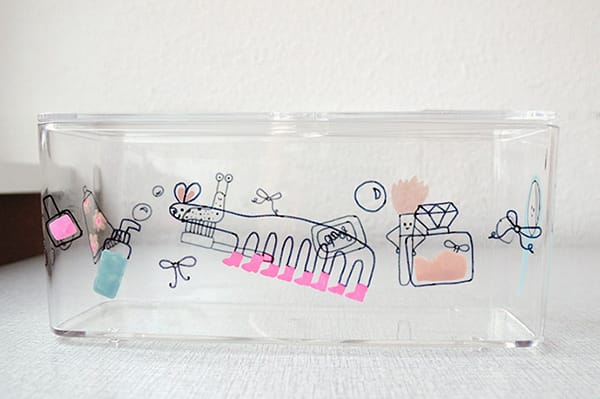
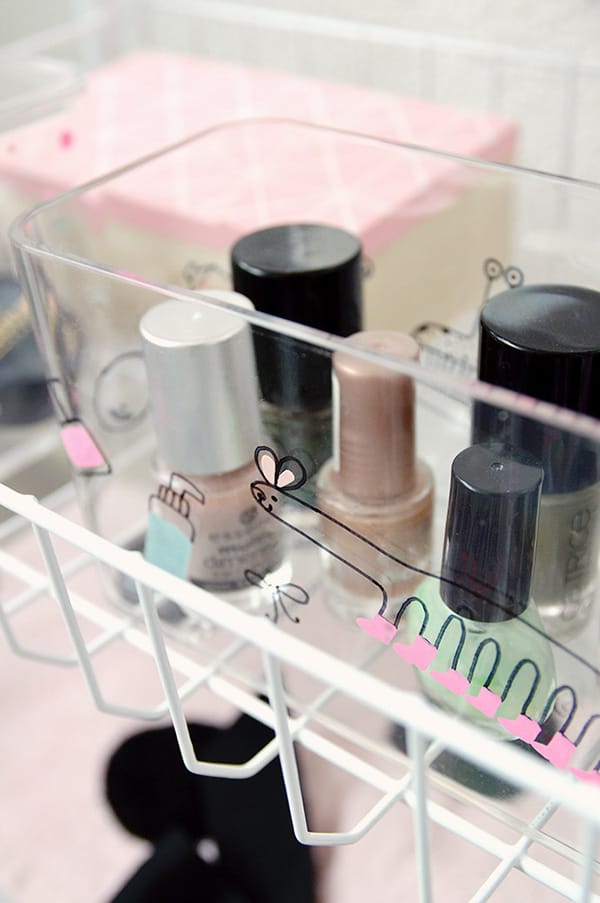
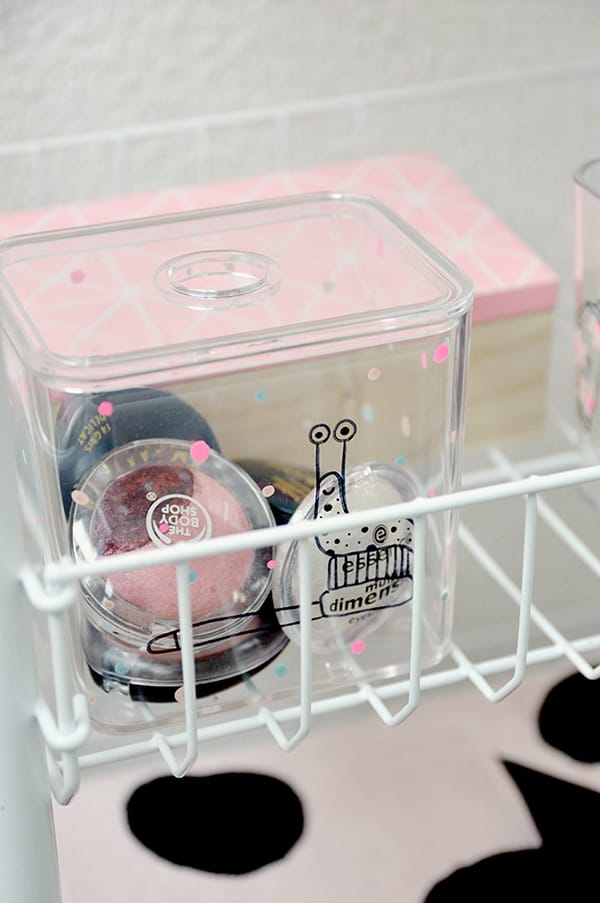
Ik had na het maken van dit artikel nog wat plexiglas accessoires over, dus ik leefde me extra uit. De resultaten daarvan zie je ook op de foto’s hieronder.
Vul je accessoires met je toiletspullen en geef ze een mooi plekje. En mocht je je creatie delen op instagram, tag me dan even (@verabertens). Vind ik superrrrrleuk om te zien!
Now it’s time to fill your brand new containers with your favourite toiletries and show your new accessories off to your friends. If you’d like to share what you’ve made, please do tag me on instagram (@verabertens), I’d LOVE to see it!




3 Replies to “Gast-artikel voor Team Confetti #19: DIY geïllustreerde badkameraccessoires //DIY iIllustrated bathroom accessories”
Wat een ontzettend leuk idee! Het ziet er meteen veel vrolijker uit.
Ah! Wat onwijs leuk!
Wat een top idee!